Hello Keyshot Community,
I am currently rendering modules for a garden kitchen and find myself struggling with a convincing lighting setup. I try to light the scene with only area lights, not the Hdri (Hdri brightness is set to 0,2) but the reflections are somewhat lacking and I have huge issues with fireflies/artifacts in the inner part of the grill.
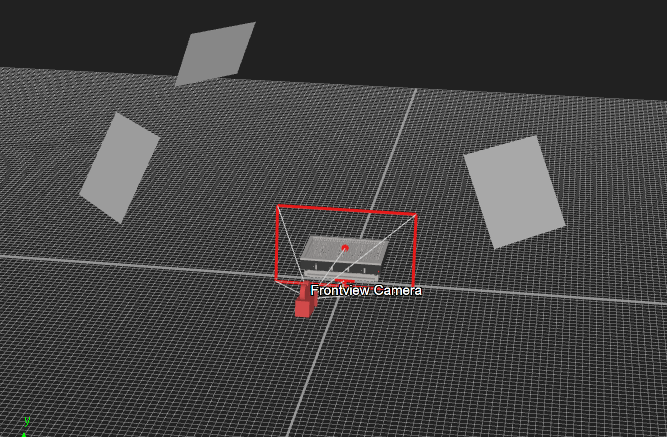
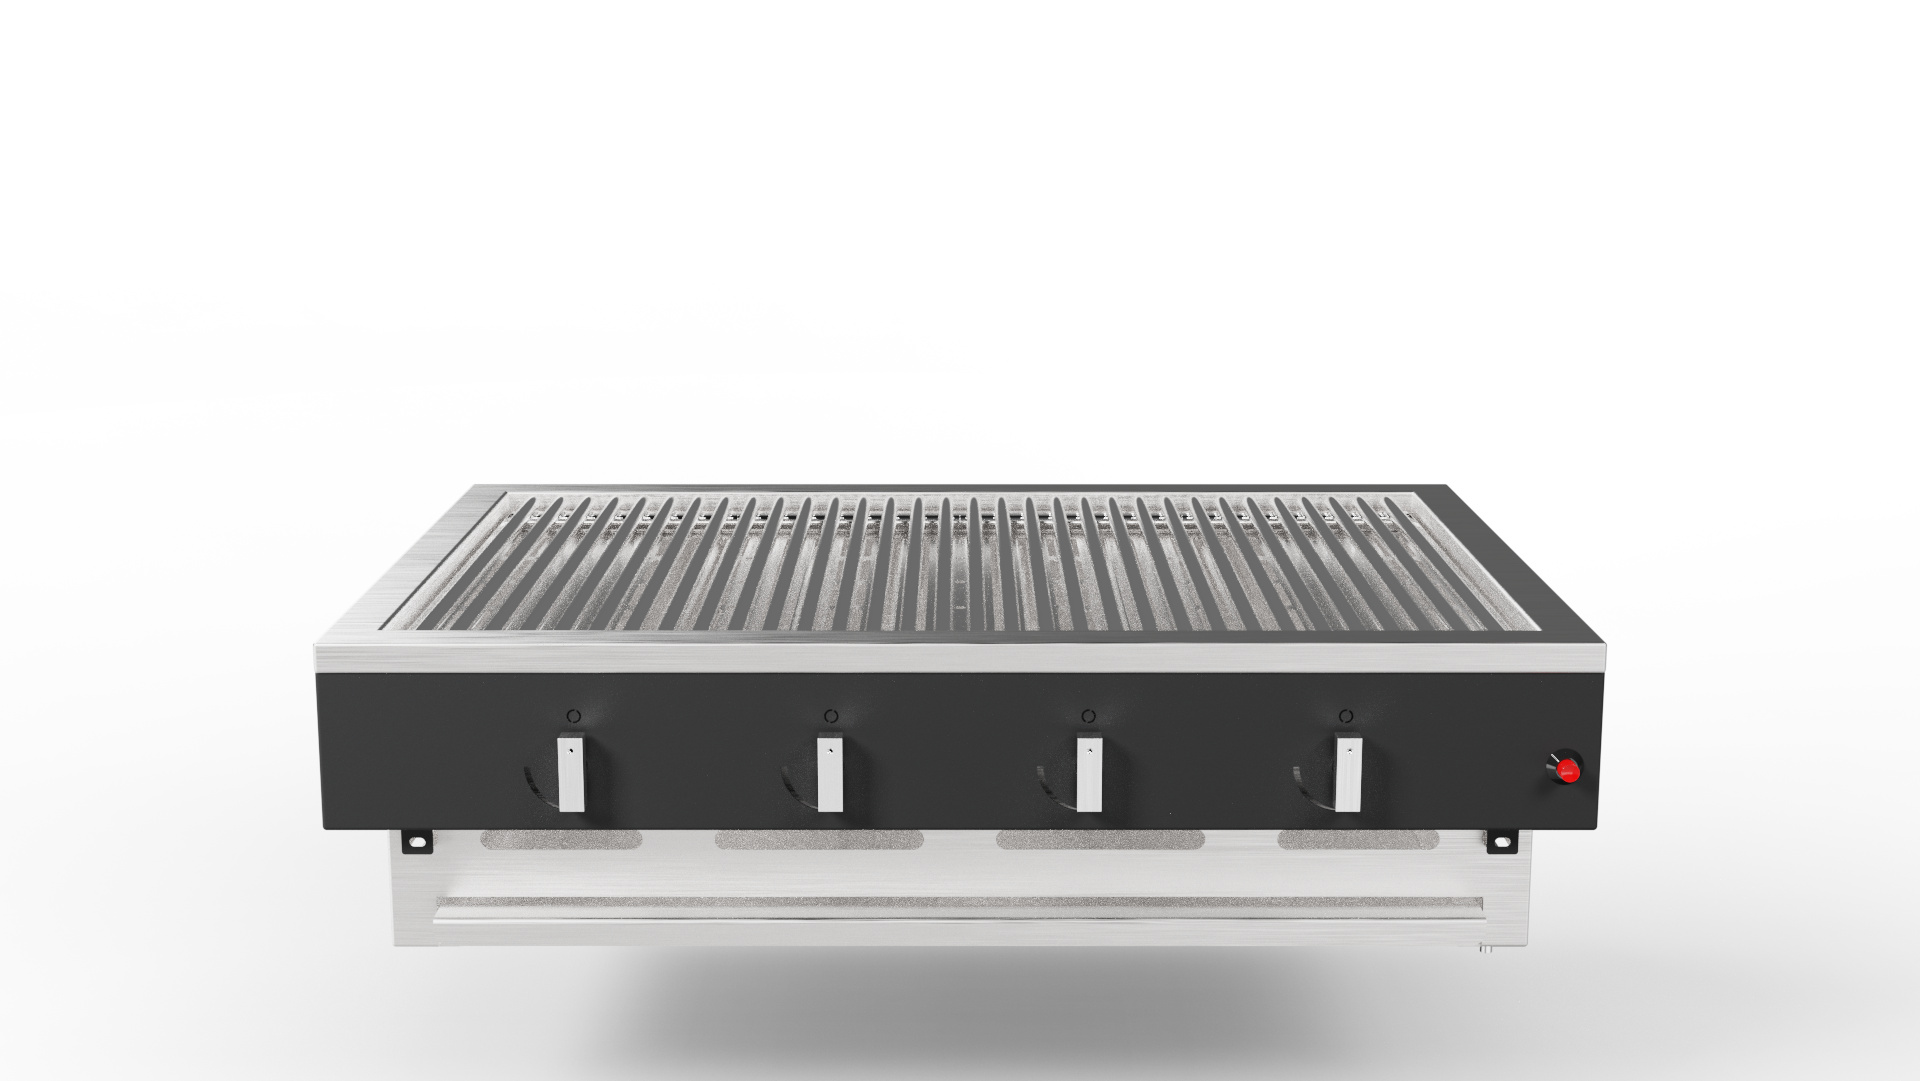
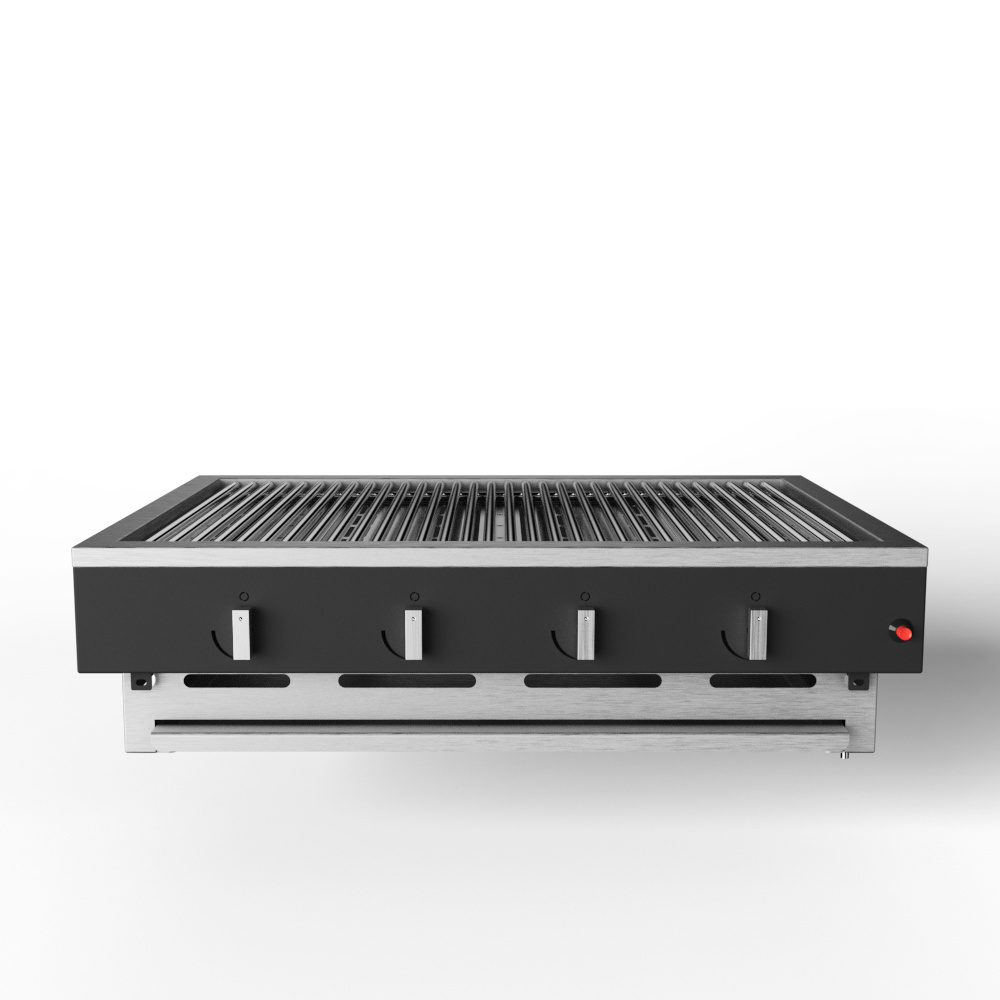
I included the Geometry View to explain my setup. Front left area light is the main source with a 150W/600x600mm light. Front right is set to 75W to dampen the shadows a bit. Back left is 75W for the backlighting. This setup is my basic go to lighting rig and usually produces decent results, but I cannot get this to work with metal/brushed metal. I included a render to show the fireflies on both the black powdercoating near the turning knobs and the in the innards of the grill.
(3.5k samples, low contrast image style, 0.2 denoise blend, 0.25 firefly filter)
Is there any guide or tips/advice I can follow to get richer shadows in the grill, increasing contrast on the grates and overall improve the render quality if something else sticks out to you?
I’m pretty new to studio lighting so any help is greatly appreciated.
I would like to prevent using geometry like a backdrop because I need the transparency for the booklet.
Best regards,
Lenard D.
Hi Lenard!
I would just put the denoise on 1. The thing is that the number is mainly changing an opacity value so you basically it doesn’t change how aggressive the denoise is but more how opaque the noise is. I know some like to use lower values but I don’t see a reason why I would still the same noise but less opaque.
I don’t think you can share the actual object so I try to explain what I would do.
You use a 3-point studio setup for the lights which works well for a diffuse light but since there is nothing to reflect metal objects will look quite flat. If that image style is what you want it’s perfectly fine, you see it more often in product catalogues. Else I would use an HDRI with for example an outdoor garden scene and give it enough power to show it’s relections.
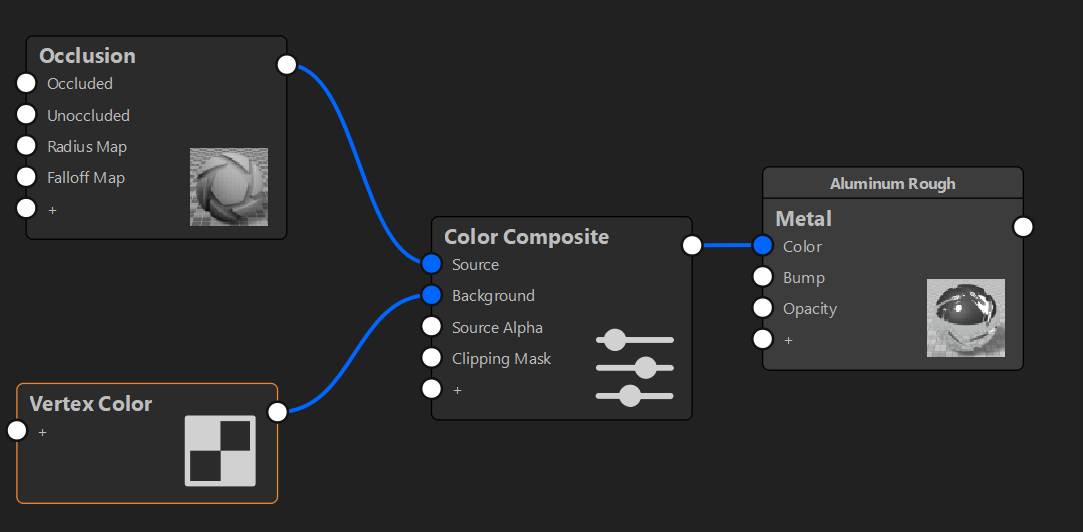
To get more shadows on the grill and on the inside I would add an occlusion map to the material of the grill and bottom part.
That will look something like this:
The vertex color is basically the color of the metal which will be close to white and the occlusion creates shadows on parts which will always have some kind of shadow.
This works wonders I think for adding the feel of depth if objects feel too flat. And the occlusion node has nice options to tweak it so you can use it as little as needed depending on the result you’re looking for.
2 Likes
Hey Oscar, thanks for the reply!
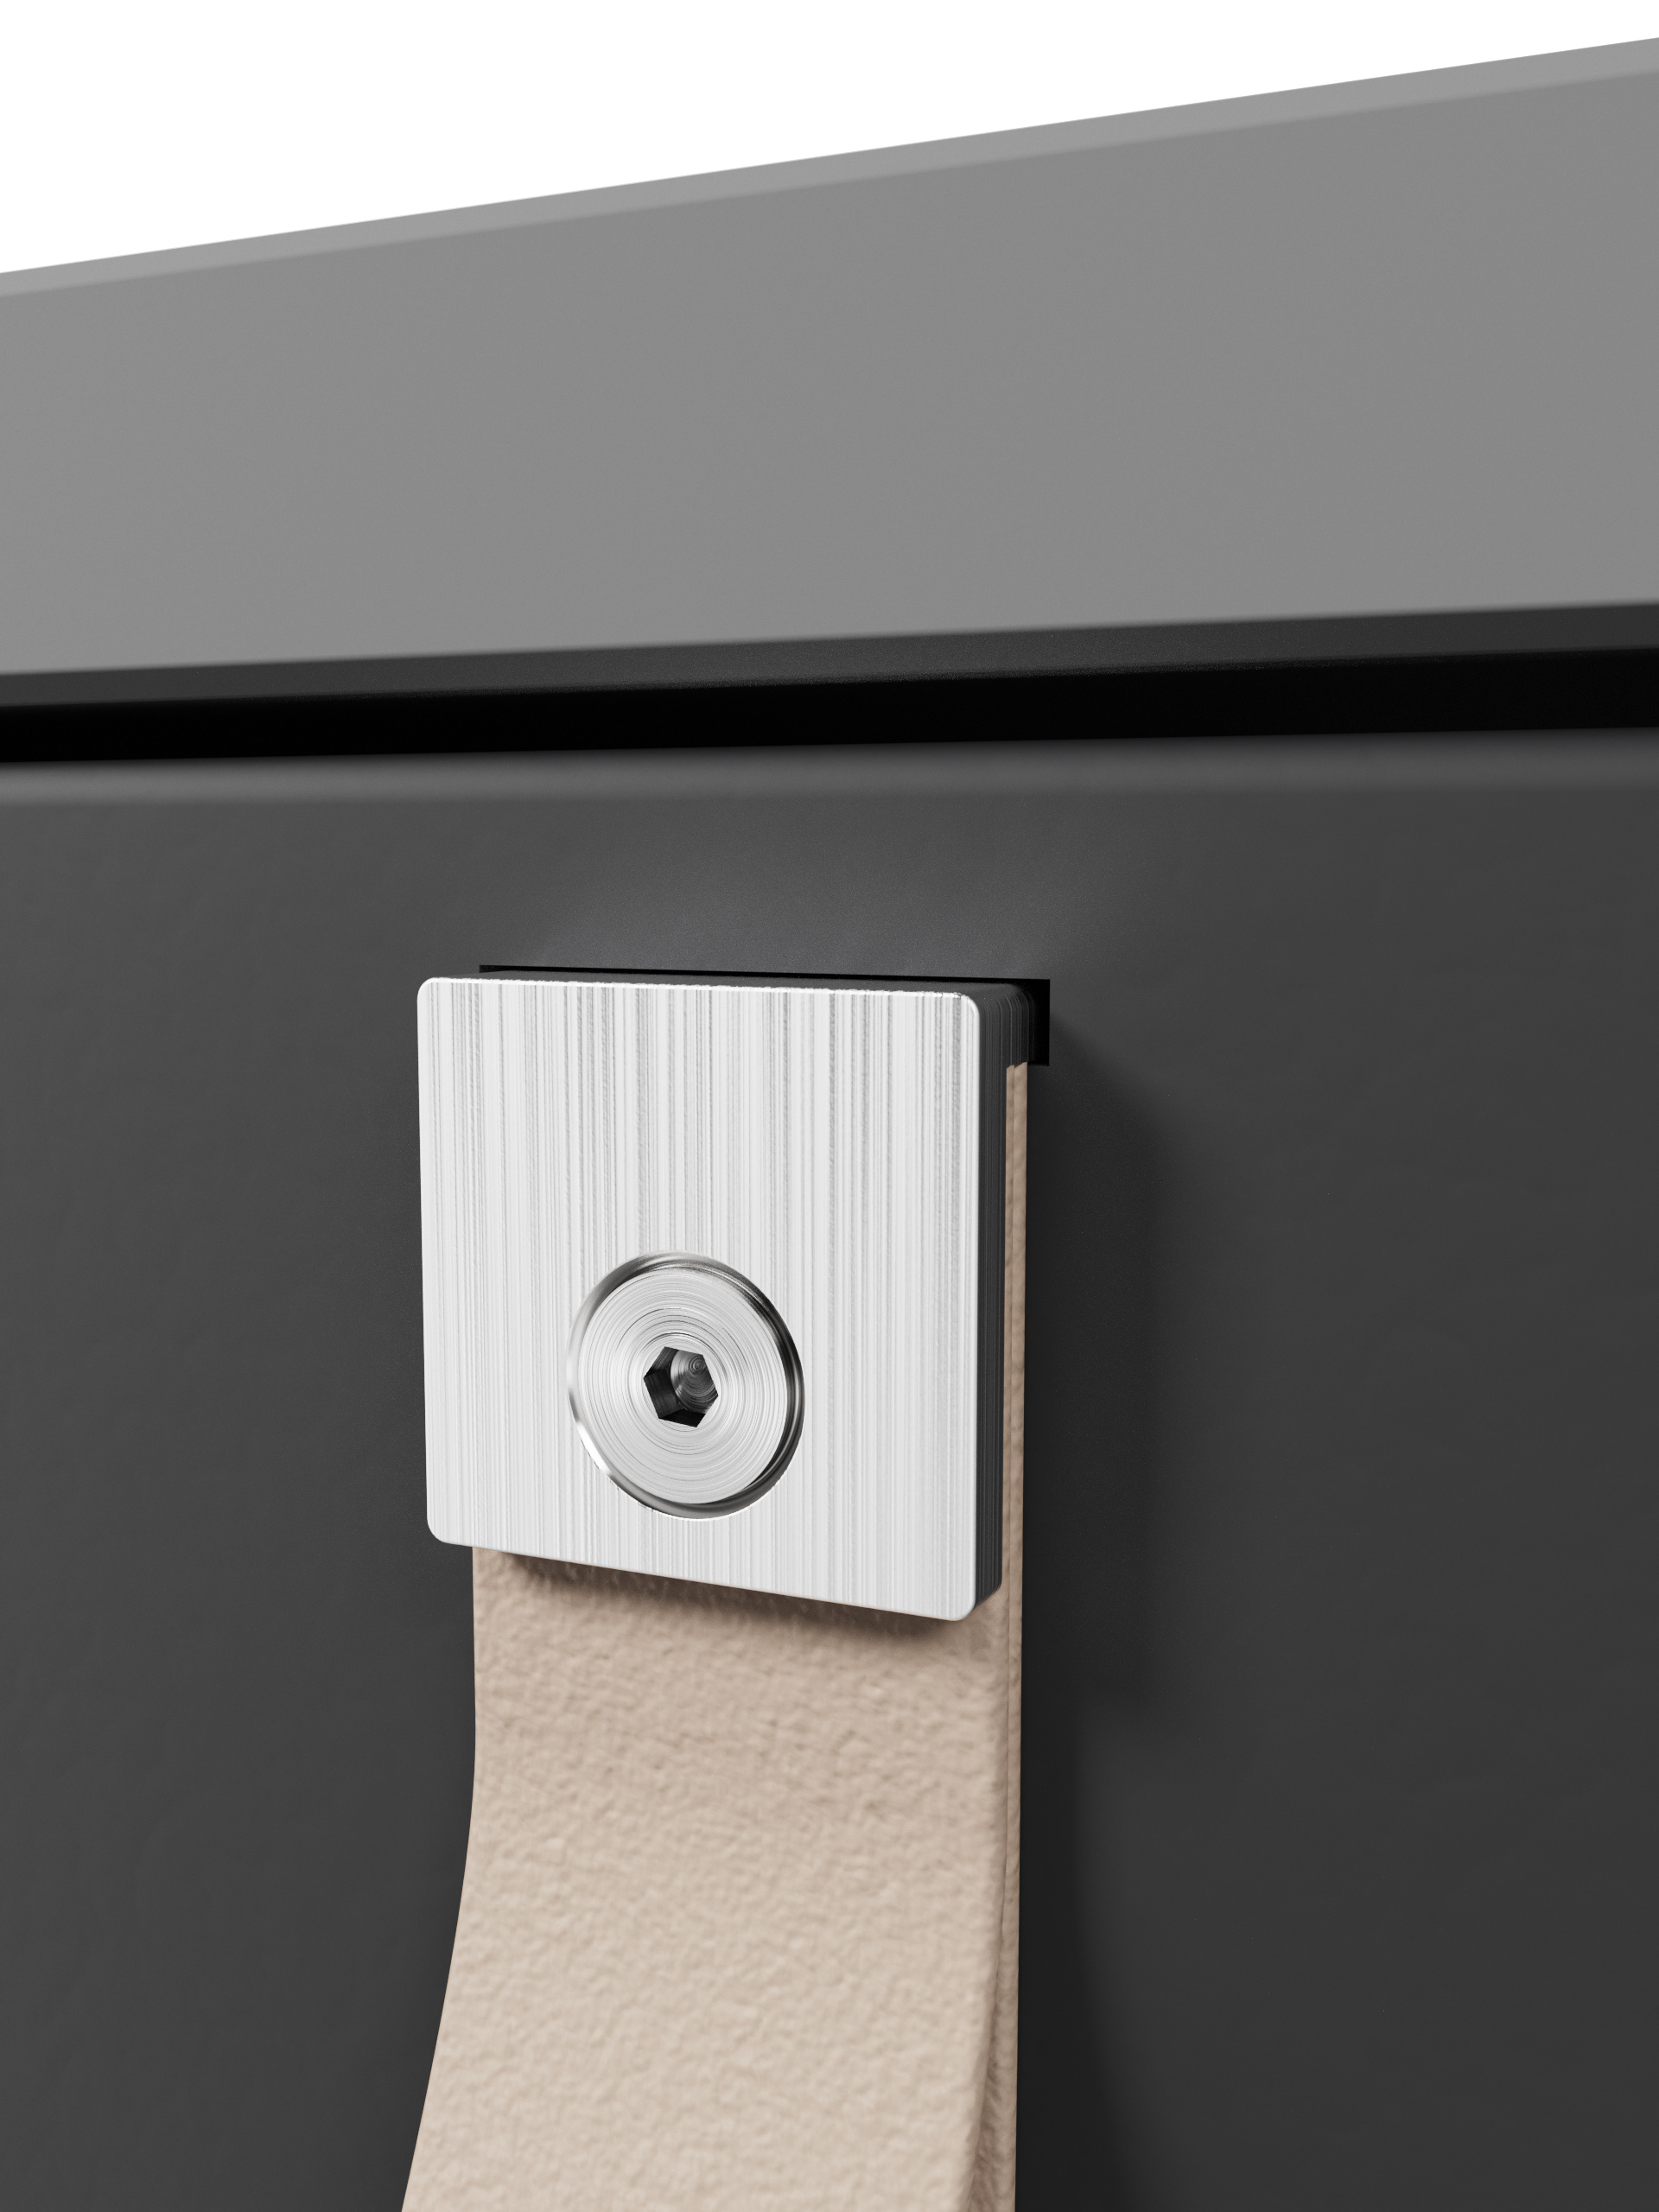
Thought about using occlusion aswell, usually I only use it for screwheads and other smaller objects (like the screw for the pull latch on my drawer module), will give it a go with the bigger object aswell and will update my progress!
Using a “busy” scene as an Hdri makes sense for metal/shiny objects and I have done so in the past, I just feel like I have more control over the lighting in a studio setup. If you were to render metal objects would you light the scene only with the HDRI or additional lights?
1 Like
I second the occlusion method, it can work wonders.
I work with caravans and often render entire caravan exteriors that for the most part consists of shiny white plastic and metal parts. With a regular shiny white plastic material out of the library it looks pretty meh, and it’s hard to get a good look on both shadows and bright areas without over-exposing the image or ending up with the whites looking gray instead.
But with an occlusion map it’s much easier to get really nice results and shadows without having to spend countless hours on lighting and image styles.
1 Like
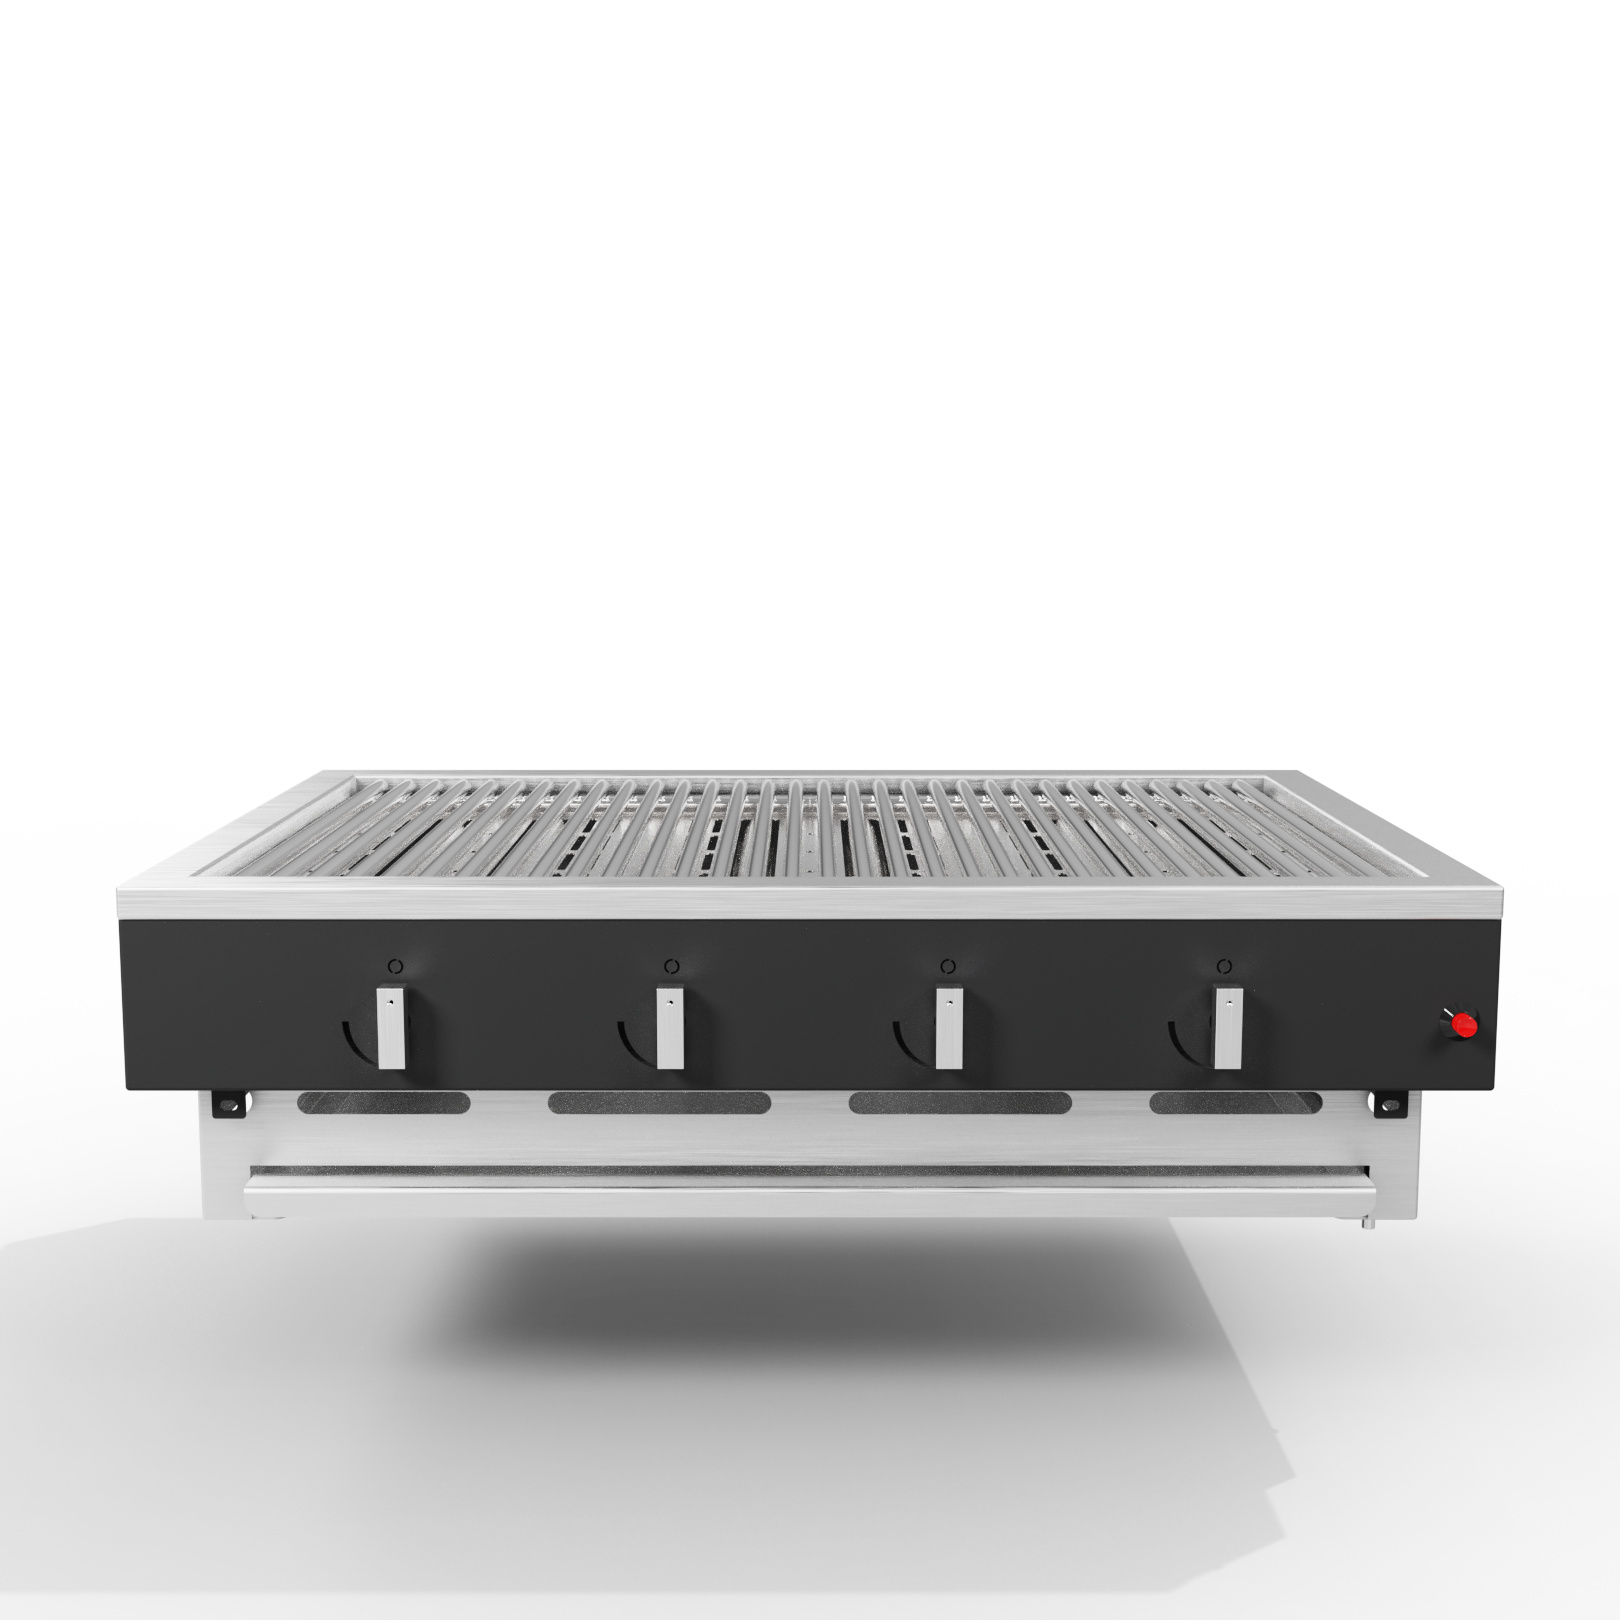
This is where I am at after playing around with the occlusion texture for a bit.
Definetely an improvement! Getting some of the details below the grates back is great.
The shadows also got way more pronounced. The artifacts are something I have to live with I think, unless I crank the samples up to 10k+
I’ve put an outdoor HDRI with some sun highlight into the scene which gives me a sharper shadow, but that’s okay. Might have to look for an overcast HRDI in the libary.
Thanks for the input so far!
1 Like
It’s I think a matter of what you prefer but in my experience HDRI-only scenes cause also less noise. And for a studio setup like this there are plenty of good HDRIs available I think.
Still you have more control if you actually use physical lights. Although you can of course create your own HDRI in KeyShot or special HDRI software. Sometimes with just a HDRI you don’t get it right.
I’m not sure if you need a busy scene but if you need some more reflection for the result you could use it. Than it will be more a combination/balance between the lights you already have and the HDRI since HDRIs from for example a garden will have only one light source, almost forgot the name but it seems to be the sun, haven’t seen that thing for a while.
Occlusion works indeed really well with such small objects but like Joakim also says, they can also help for larger parts. For fun I sometimes texture game models and those really NEED an occlusion map since a game engine is not powerful enough to do the amount of bounces KeyShot can do.
But because materials are by default really perfect in KeyShot occlusion is a nice way to also give those parts a tiny bit more roughness. That will also help to make light bounce a little less. Not done in this example but you can just connect the occlusion as well with roughness with maybe adding a color adjustment node.
It’s all a matter of taste and the result you’re aiming for. Don’t really think there’s a right/wrong way to do things. I was looking around but I think most outdoor kitchen hardware is still getting photographed instead of rendered.
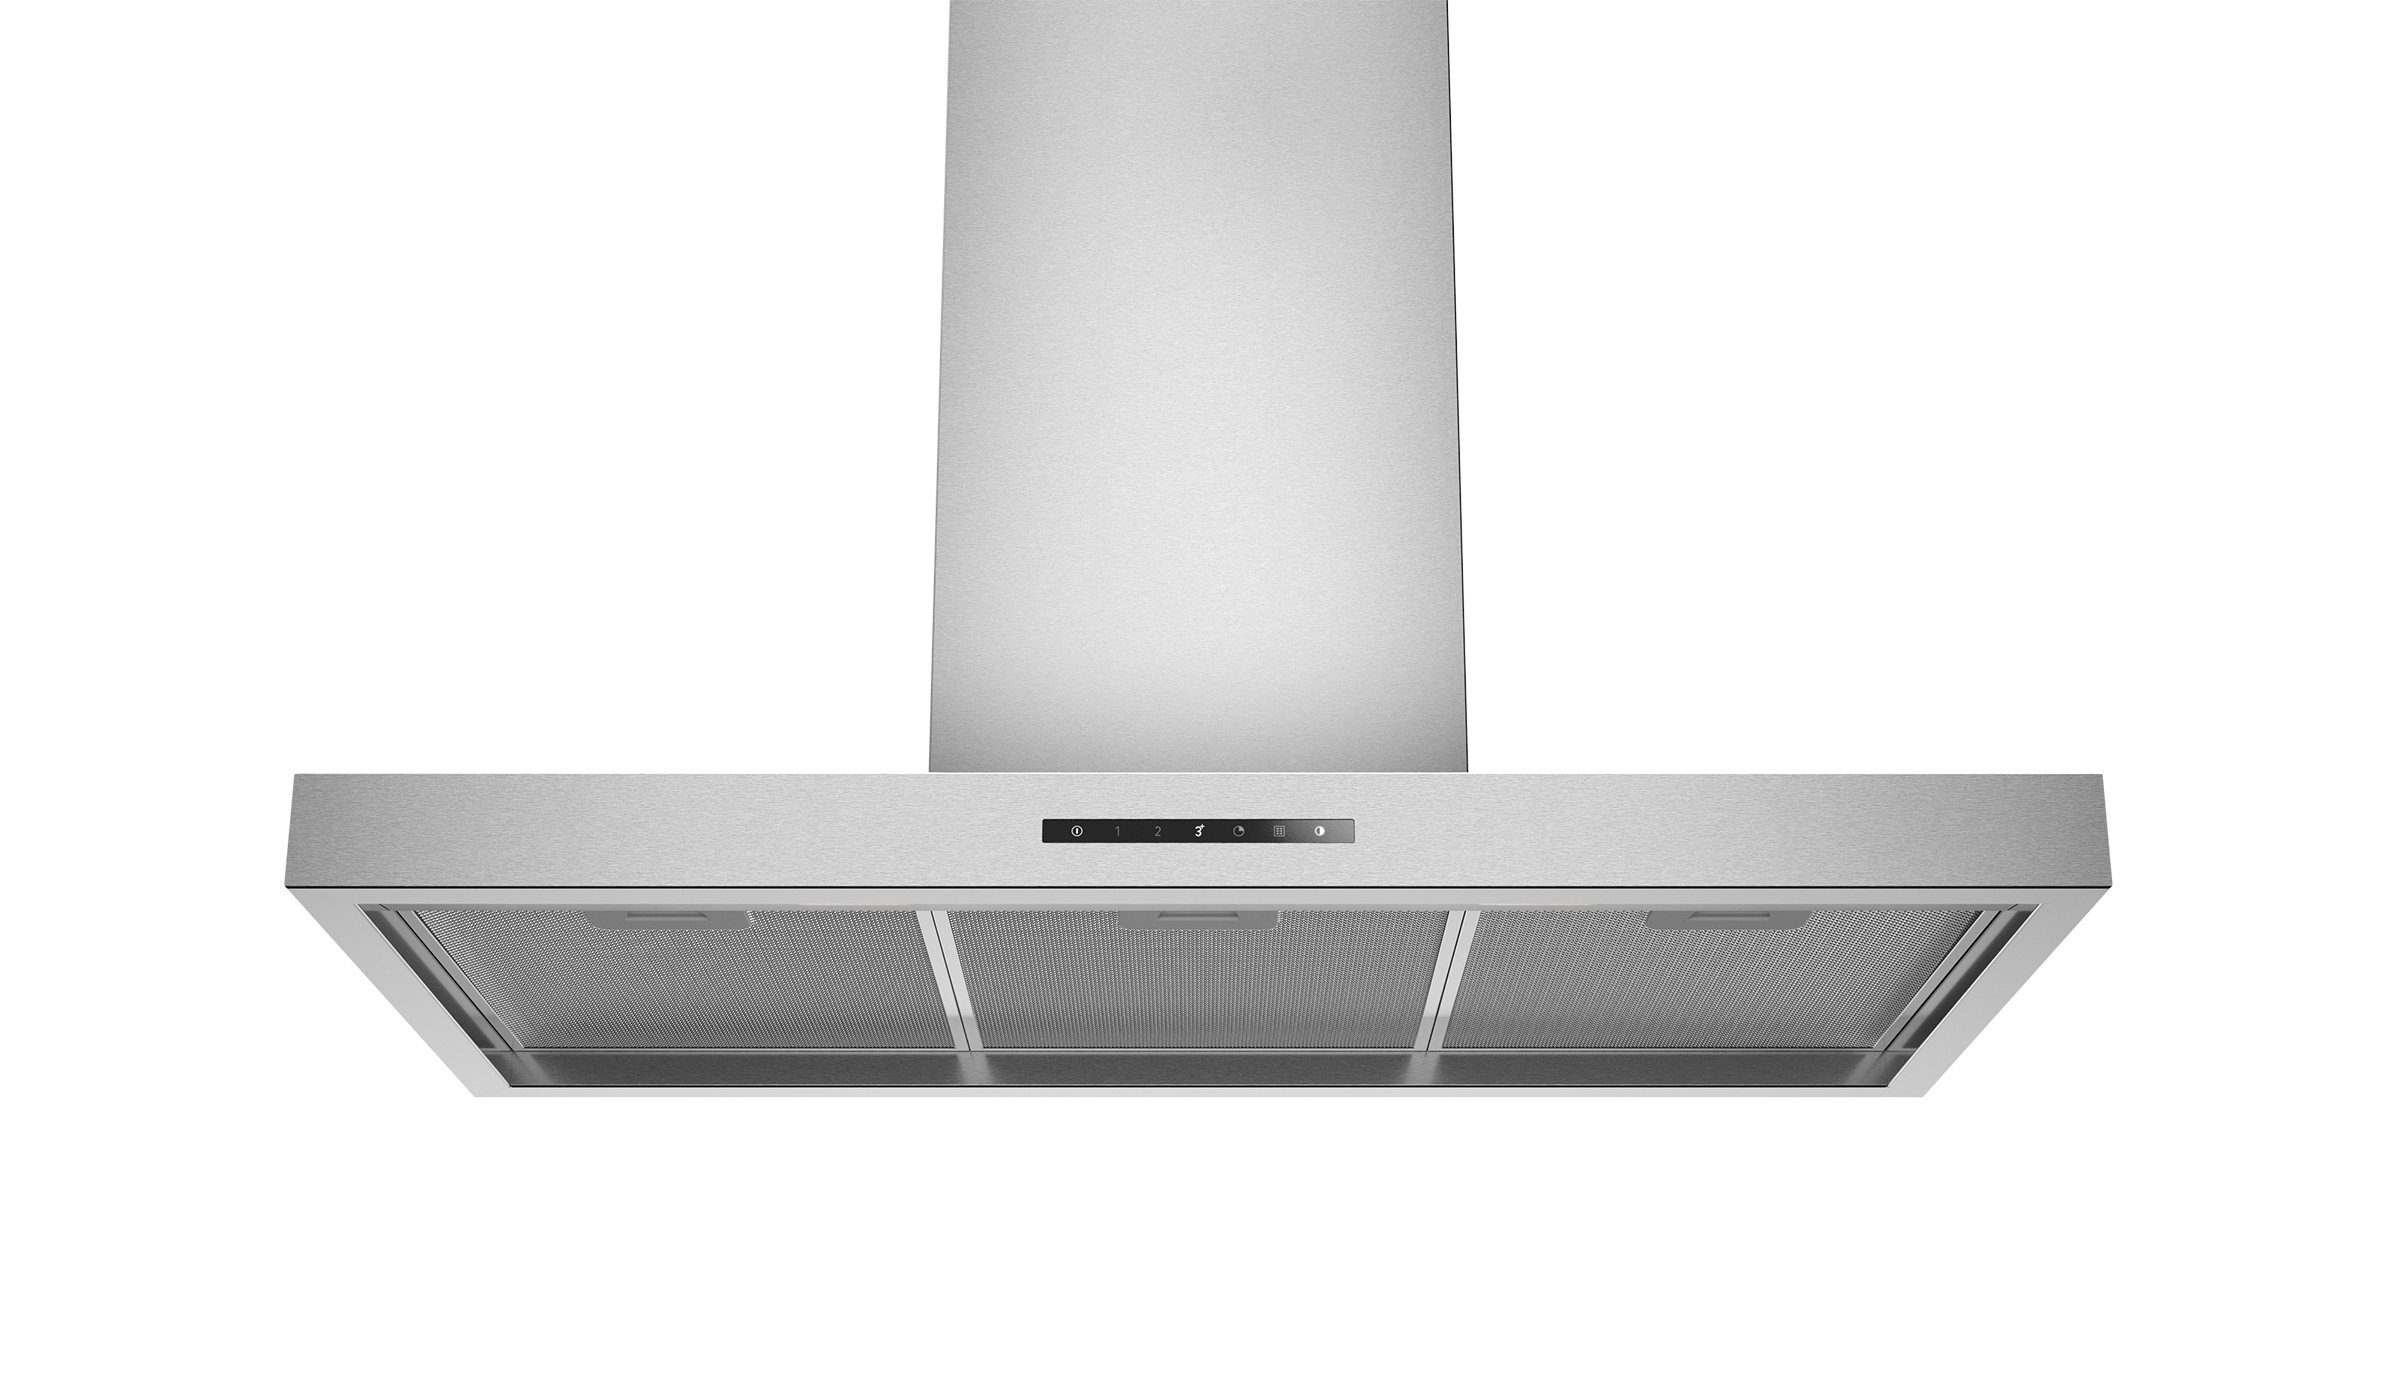
Came across this from a site from a former client I worked for and this could be rendered but I liked the lights on it. Not really different from your setup just more a frontal light which doesn’t cover it all so you get a bit darker outsides. Might work well for you.
Ah yeah just see your last post, it works well those holes where you look to the inside are much darker. Getting there!
Gave the HDRI Editor another go and I am much happier now!
Alot more contrast on the grates and the underlying vent-sheet.
ALOT less noise + less rendertime. Maybe the Area Lights are more precise but using only the HDRI def. helped alot! Thanks, super happy with the result!
I tend to overdo the shininess on brushed metal, so I toned it down a bit. Much closer to your provided kitchen vent thing no I think. Now lets see, if the light setup works for the other modules.
1 Like
Love the looks now, makes it also look way more realistic/natural with the darker parts and also fits the overall look I think. Every object is different but if you have a bit a of a flexible material setup you can easily tweak it so they are all in line with each other.
1 Like